Graydon Hoare created the Rust language as a means of working faster and more scalable in terms of coding web applications. Programming and developing apps is a pivotal part of our digital world, so you’re likely to find success in pursuing this field. Using Rust for web development will fast-track your work and enable it to scale.
Rust’s Applications and Common Uses
Rust isn’t limited to coding websites. In the global community of coders, Rust provides documentation to use in various ways. Your concept is likely to even exist somewhere. What’s now gaining ground in the world of programming is Rust’s use in coding blockchain. Using Rust in this manner is still revolutionary and has made progress in how to build a blockchain website.
What Is Blockchain?
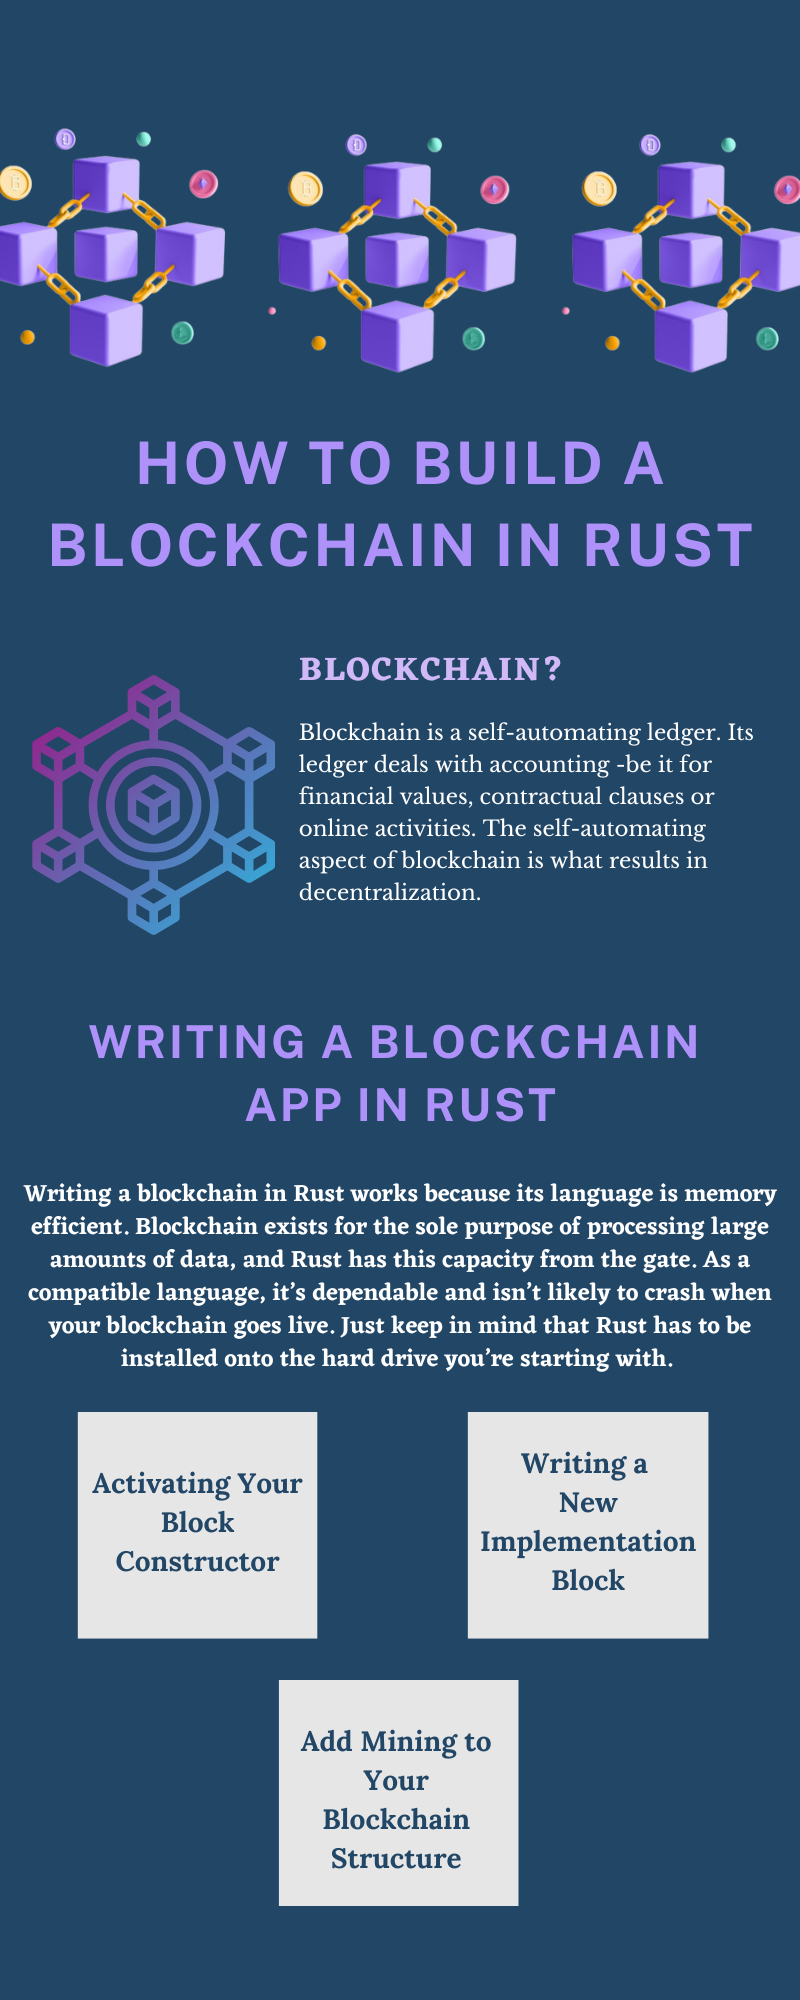
Blockchain is a self-automating ledger. Its ledger deals with accounting -be it for financial values, contractual clauses or online activities. The self-automating aspect of blockchain is what results in decentralization. By working in an open network, no central authority controls the transactions of a blockchain. You might confuse it with bitcoin, but don’t. Bitcoin is a digital currency that only works due to the safeguards of blockchain technology.
Read: Use Cases for Blockchain
What makes blockchain profitable beyond its use in digitizing money is its ability to encrypt.
In being a highly advanced type of database, blockchain enables society to create, store and process data in the safest manner. As the name “cryptocurrency” implies, each block of data created in a chain is encrypted. This means that only the members of those specific transactions have access to the information held within their exchanges. Without this ability to encrypt, blockchain can’t provide the level of automation that it’s so highly sought for.
Writing a Blockchain App in Rust
If you’re truly dedicated to Graydon Hoare’s programming language, then consider your own Rust blockchain. Writing a blockchain in Rust works because its language is memory efficient. Blockchain exists for the sole purpose of processing large amounts of data, and Rust has this capacity from the gate. As a compatible language, it’s dependable and isn’t likely to crash when your blockchain goes live. Just keep in mind that Rust has to be installed onto the hard drive you’re starting with.
Your particular setup might require a download of Visual Studio C++ Build also.
Consider the following steps once you’re ready.
Establishing Your Block Structure
Implementing your block structure will establish preset parameters and structure clauses. The result is a set of bracket structures with assigned boundaries that define the context of your language. You can, for example, define “pub timestamp,” “pub prev_block_hash” or “pub difficulty.” As it relates to Rust, this calls for you to set one of the following: main.rs or block.rs.

Activating Your Block Constructor
1. The following structure is what activates your block constructor:
impl Block { pub fn new (index: u32, timestamp: u128, prv_block_hash: Hash, transactions: Vec, difficulty: u128) -> Self { Block { index, timestamp, hash: vec![0; 32], prev_block_hash, nonce: 0, transactions, difficulty, } }
2. You must insert a debug formatter, which has a command that enables data to be stored as it’s inputted into your blockchain. The formatter appears as follows:
impl Debug for Block { fn fmt (&self, f: &mut Formatter) -> fmt::Result { write!(f, "Block[{}]: {} at: {} with: {} nonce: {}", &self.index, &hex::encode(&self.hash), &self.timestamp, &self.transactions.len(), &self.nonce, ) }}
3. This following sections gets inputted within your main.rs:
fn main () { let difficulty = 0x000fffffffffffffffffffffffffffff; let mut genesis_block = Block::new(0, now(), vec![0; 32], vec![ Transaction { inputs: vec![ ], outputs: vec![ transaction::Output { to_addr: "Alice".to_owned(), value: 50, }, transaction::Output { to_addr: "Bob".to_owned(), value: 7, }, ], }, ], difficulty);,
4.Your next step is to run the below code in a newly created “hashable.rs file”:
use super::*;pub trait Hashable { fn bytes (&self) -> Vec; fn hash (&self) -> Hash { crypto_hash::digest(crypto_hash::Algorithm::SHA256, &self.bytes()) }}
Writing a New Implementation Block
Now is when you can use your preset block structure with a new “impl,” which appears as:
impl Hashable for Block { fn bytes (&self) -> Vec { let mut bytes = vec![]; bytes.extend(&u32_bytes(&self.index)); bytes.extend(&u128_bytes(&self.timestamp)); bytes.extend(&self.prev_block_hash); bytes.extend(&u64_bytes(&self.nonce)); bytes.extend( self.transactions .iter() .flat_map(|transaction| transaction.bytes()) .collect::() ); bytes.extend(&u128_bytes(&self.difficulty)); bytes }}
Add Mining to Your Blockchain Structure
Use your main.rs file to mine at least 10 new blocks. You’ll have to check that your blocks all have their own hashes. Here’s what you can use, which should result in at least 10 blocks:
fn main () { let difficulty = 0x000fffffffffffffffffffffffffffff; let mut block = Block::new(0, 0, vec![0; 32], 0, "Genesis block!".to_owned(), difficulty); block.mine(); println!("Mined genesis block {:?}", &block); let mut last_hash = block.hash.clone(); let mut blockchain = Blockchain{ block: vec![block], }; for i in 1..=10 { let mut block = Block::new(i, 0, last_hash, 0, "Another block!".to_owned(), difficulty); block.mine(); println!("Mined block {:?}", &block); last_hash = block.hash.clone(); blockchain.blocks.push(block);
Now make sure to verify your blocks by using this code, which must be filed under the same name of your prior block experiment:
impl Blockchain { pub fn new () -> Self { Blockchain { blocks: vec![], unspent_outputs: HashSet::new(), } }pub fn update_with_block (&mut self, block: Block) -> Result < BlockValidationErr> { let i = self.blocks.len(); if block.index != i as u32 { return Err(BlockValidationErr::MismatchedIndex); } else if !block::check_difficulty(&block.hash(), block.difficulty) { return Err(BlockValidationErr::InvalidHash); } else if i != 0 { // Not genesis block let prev_block = &self.blocks[i - 1]; if block.timestamp <_block.timestamp { return Err(BlockValidationErr::AchronologicalTimestamp); } else if block.prev_block_hash != prev_block.hash { return Err(BlockValidationErr::MismatchedPreviousHash); } } else { // Genesis block if block.prev_block_hash != vec![0; 32] { return Err(BlockValidationErr::InvalidGenesisBlockFormat); } }
Why Use Rust for Blockchain Development?
You need a programming language for blockchain. Rendering that language calls for a development platform you can trust and use without limits. Rust is a flexible language that others are also using and even improving.
You don’t need to be an innovator to use it. You don’t even need new code. Within its public documentation, there are free algorithms to copy and paste this very moment. Activating a blockchain for Rust developers is that easy.


